Using Plesk Toolkit to help speed up your WordPress Development

WordPress Toolkit is a single management interface that enables you to easily install, configure, and manage WordPress.
If you are constantly creating WordPress sites using the same themes and Plugin, read on to learn how you can increase your productivity with the function that comes with Plesk Toolkit – a great time saver especially for web agencies.
First, before installing a new WordPress site, let’s define a set – a predefined list of WordPress plugins and themes that you commonly use. When you do this, all plugins and themes included in the set will be installed together with any future WordPress site.
Go To the WordPress -> Sets Tab and then click Create Set button.

Enter the Set name and then click Create.

To add some plugin to the set, click + Add Plugins

And then click Add Plugin to appear the plugin searchbox.

Search for the desired plugin, select it from the list, and then click Add.

When the plugin installation have finished, you will see the list of installed plugins.

OK now we have added 3 plugins to or E-commerce Pack set.
Let add a theme to our set. Click on the +Add Themes.

And then click Add Theme to display the theme searchbox.

Search for the desired theme, select it from the list, and then click Add.

Now E-commerce Pack set has 3 plugins installed and one theme.

Let start our WordPress installation.
Click Install button.

Define the installation path and select a set to install it together with WordPress.
WordPress administrator account and database account will be filled up automatically. You can modify them if you want.
And then click the Install button.


When you go to your WordPress URL, you can see the index page of the installed theme.
To activate the installed plugin, you need to do some setup/configuration steps.

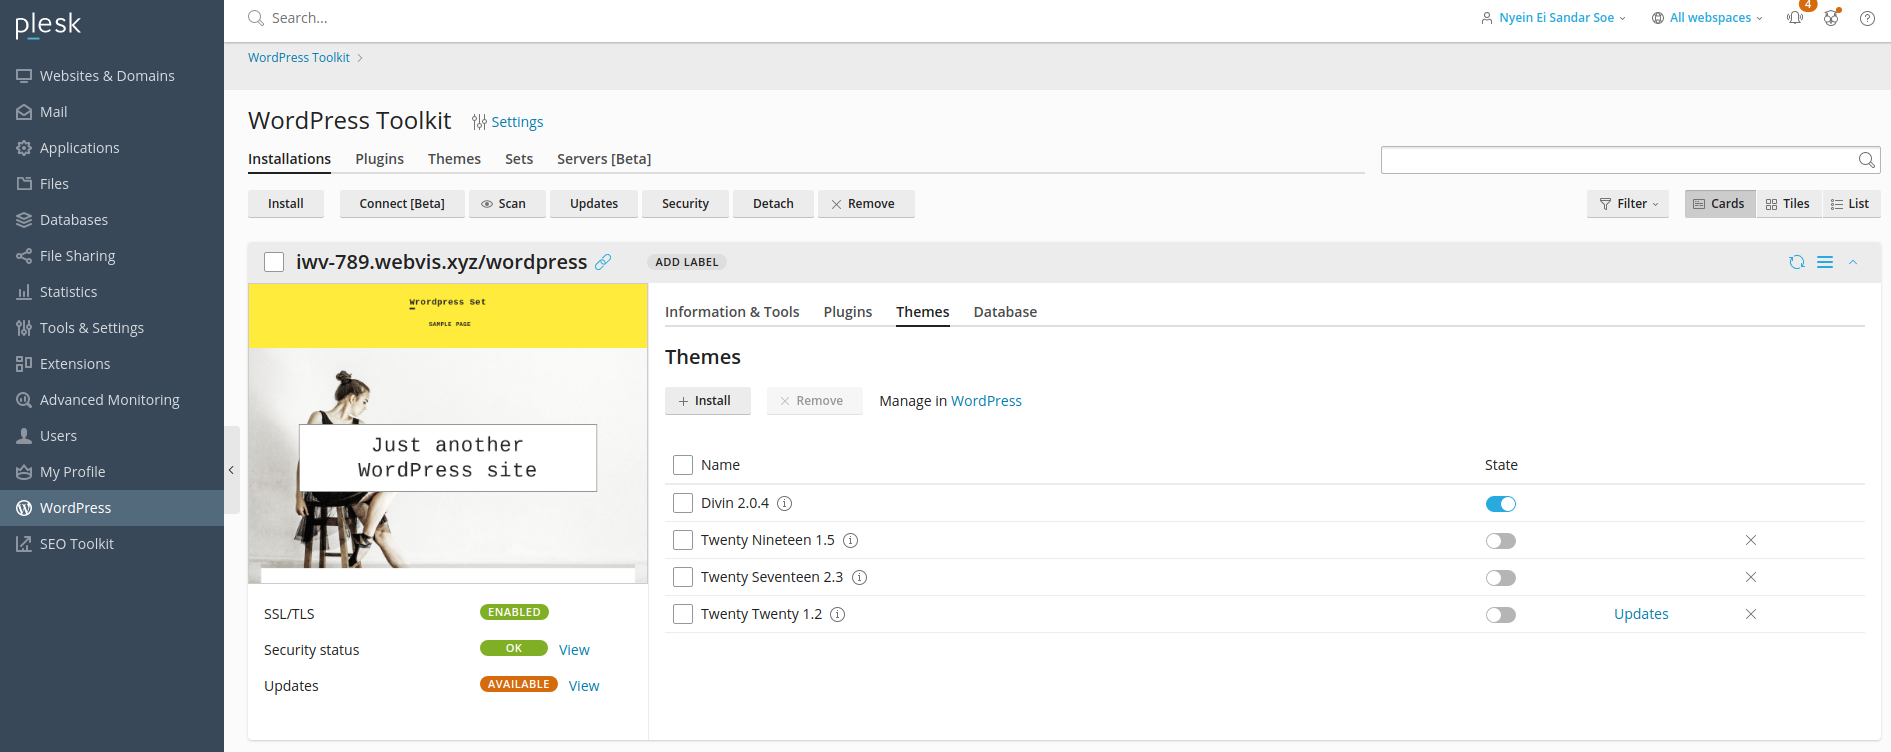
You can install plugins/themes for multiple WordPress installations under WordPress -> Plugins/Themes tab.
For more information, refer to WordPress Toolkit documentation here.